Learn about the feature on the overview page.
As part of your media workflow, you might need Frame.io media to flow into publishing channels like YouTube and Wistia, or storage destinations like Google Drive or an Amazon S3 archive.
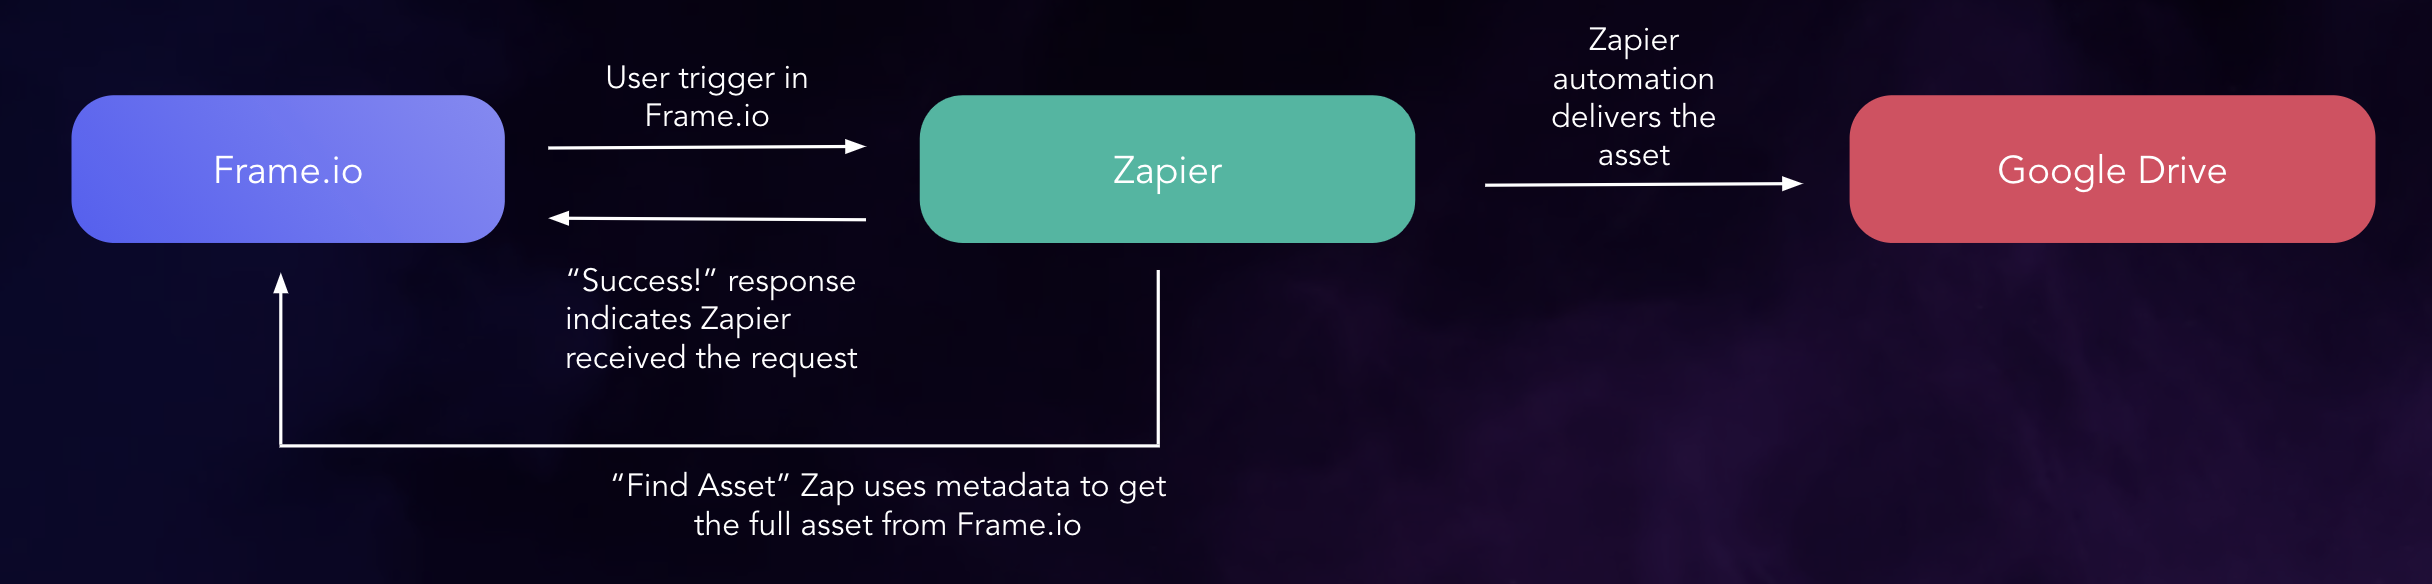
While you can use Zapier Triggers to automate your workflows, Custom Actions allow you to create a menu option inside Frame.io to that gives you an additional level of control for streamlining delivery of media to external locations; and because Custom Actions are just on-demand webhooks, you can hook them up to Zapier as custom triggers. Simply set it up once, and your Team Members and Collaborators can access the automation within Frame.io.
This guide teaches you how connect Frame.io Custom Actions to Zapier and deliver media to a third-party app or service.
Note: Webhooks are a Premium feature in Zapier. For a way to deploy Custom Actions at minimal cost, consider writing your own serverless function.
Set up Zapier and create your Custom Action
Create a new Zap in Zapier. For the initial trigger select Zap - Webhooks by Zapier. Set the Action to "Catch Hook." In this case, no customization is required, so click through to the next stage:

Test the Action
Take a minute to test the Custom Action in Frame.io. Verify the action generates a request that gets captured in Zapier:

Use the logs on our developer site to explore the Custom Action payload
Add a 'Find Asset' step to Zapier
The Custom Action payload merely references your Asset - it does not contain the file. An additional step is required to tell Zapier where to pull the file from. Add a 'search' trigger to the Zap - Frame.io - Find Asset
Here's the Find Asset set-up in action:

You're now passing more information about the asset to Zapier, including its Name, the original file, and each of the transcodes Frame.io has run on the file.
Send the Asset to your destination
For demonstration purposes we'll deliver the file to Google Drive:

Where to go from here
While Zapier is arguably the easiest way to deploy actions, it poses some limitations. Primarily, you cannot communicate with your user in the full request-response pattern that Custom Actions supports. The user only receives a default "Success!" message -- meaning Zapier handled the webhook and triggered the chain of actions in the Zap:
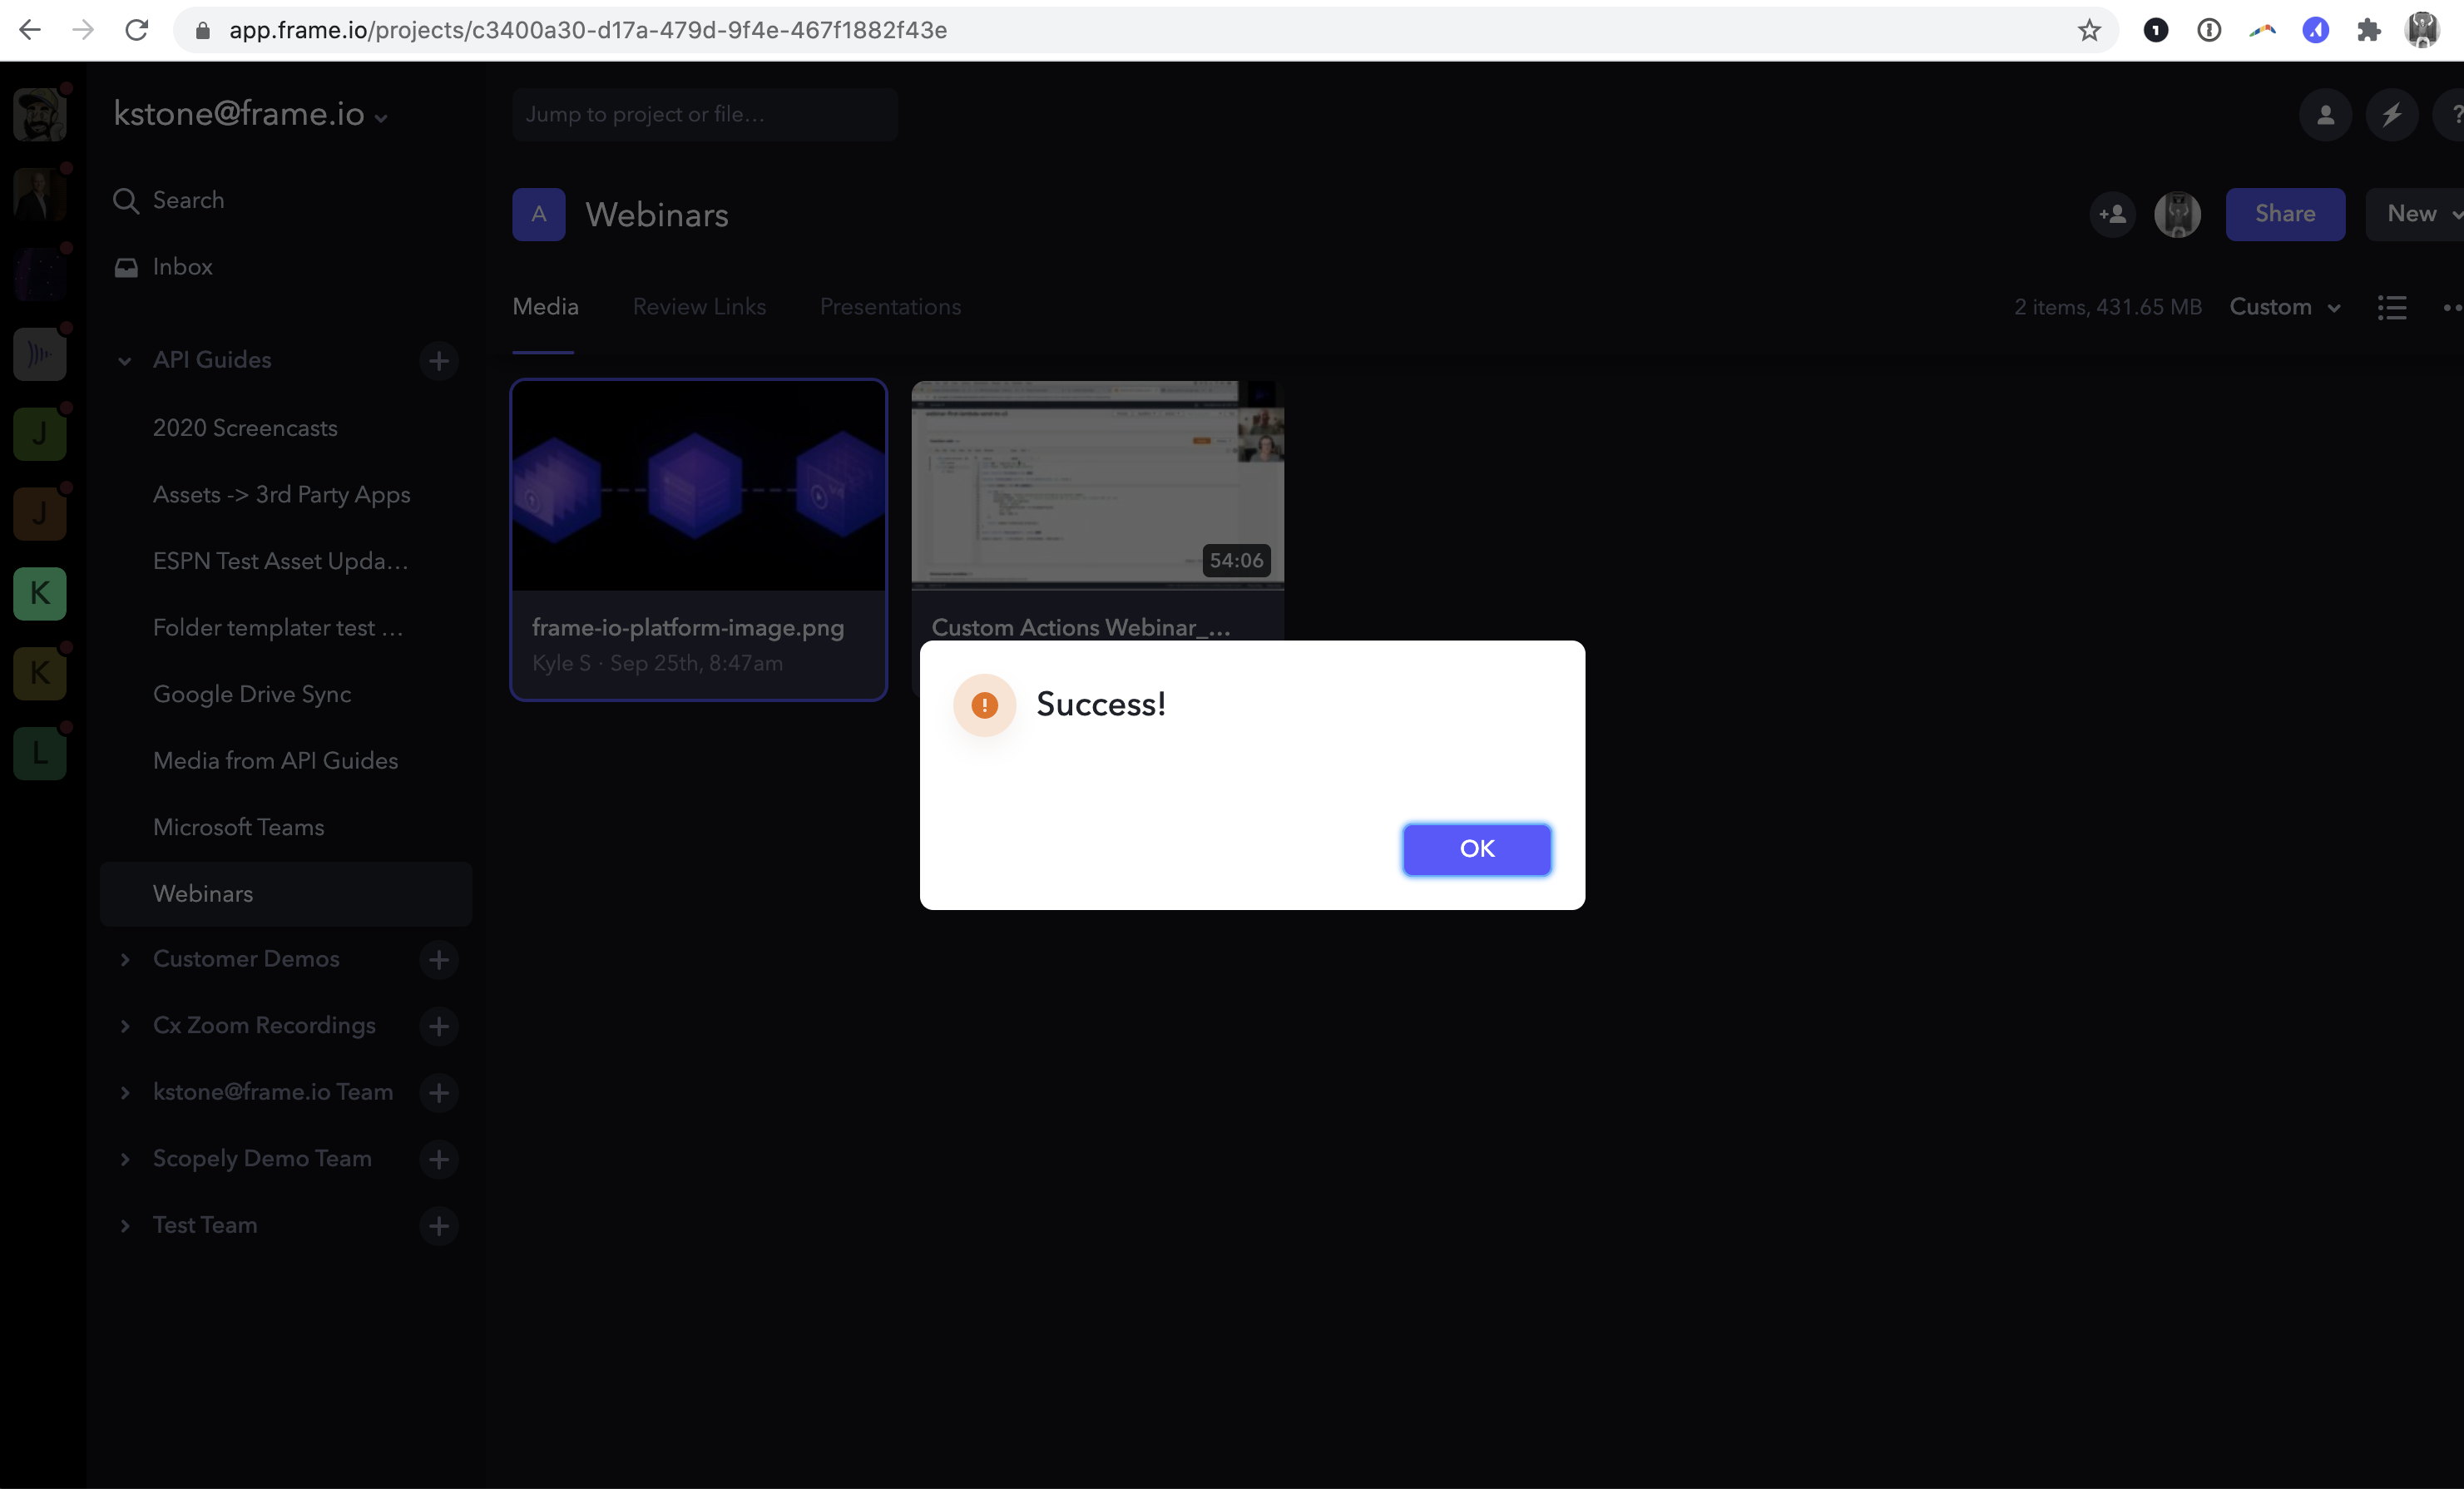
This can be misleading, as the "Success!" message just indicates a successful handoff, and will appear even if something breaks in the Zapier workflow itself. For more information on troubleshooting Zapier itself, check out their guide on exploring task history.
Rolling your own app
Writing a small server app or using lambda functions allows you to handle user inputs and create multiple code paths, which is a handy way to send files to multiple destinations, handle file types differently, or leverage information about the Frame.io user in your workflow automation.